Nel’s Bight to Cape Scott Lighthouse
This lovely hike will take you to a picturesque lighthouse at the far northwestern tip of Vancouver Island. It is likely that you’ll be greeted with fog, rather than epic views BUT it is is still a fun adventure. The trail starts from the lovely Nel’s Bight beach, and follows the Cape Scott trail to the very end and the lighthouse at Cape Scott. You can expect fabulous beaches, muddy trails and a touch of serenity as this part of the trail is not super busy.
Map – Nel’s Bight to Cape Scott
Nel’s Bight to Cape Scott
Distance: 14 km (this is our recording on strava)
Cumulative Elevation gain: 240m
Time: 3.5 hours moving time
What to bring: The 10 Essentials.
Facilities: Loos and bear caches at Nel’s Bight Campground and Guise Bay Campground.
Water: You can refill water at Nel’s Bight, Guise Bay or there is a tap on the side of one of buildings at the lighthouse – one of the people that lives there said they were happy for hikers to use it.
Dogs: No dogs for this trail. They are allowed to San Josef Bay though.
How hard is it? Intermediate because you need to hike in to Nel’s Bight first. This part of the trail is pretty easy.
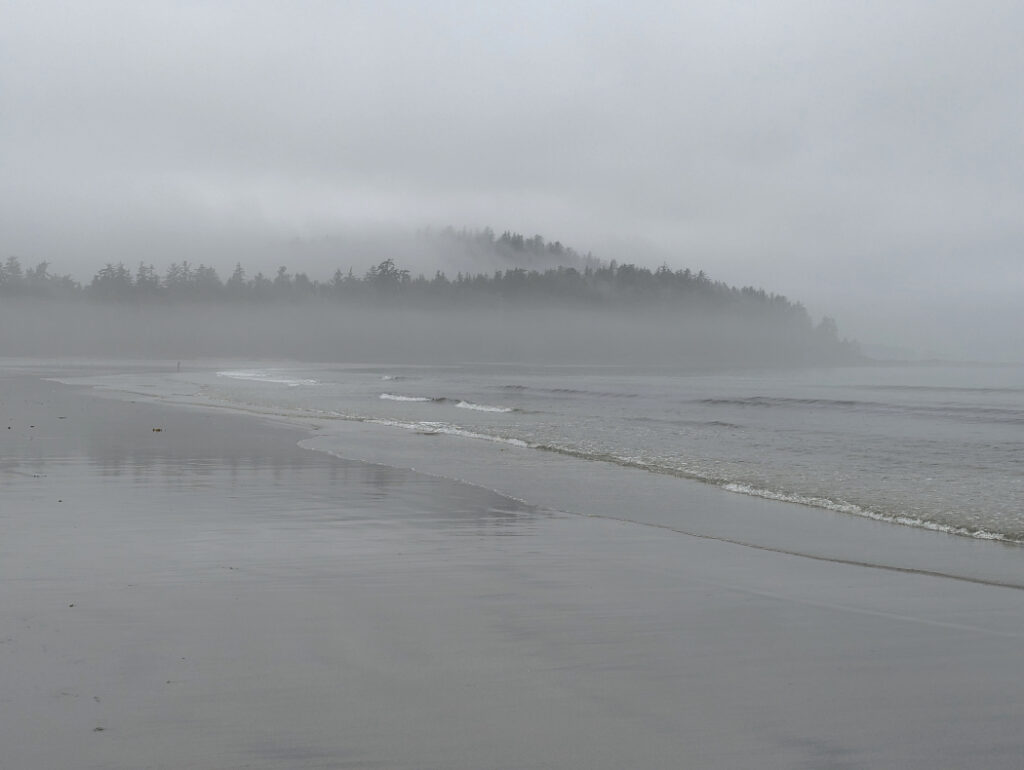
Extra notes: Get ready for fog! Cape Scott is situated at the tip of Vancouver Island, where warm, moist air from the Pacific Ocean meets cooler land temperatures. This means it is often foggy, especially in the morning – even in the summertime.
Getting to Nel’s Bight
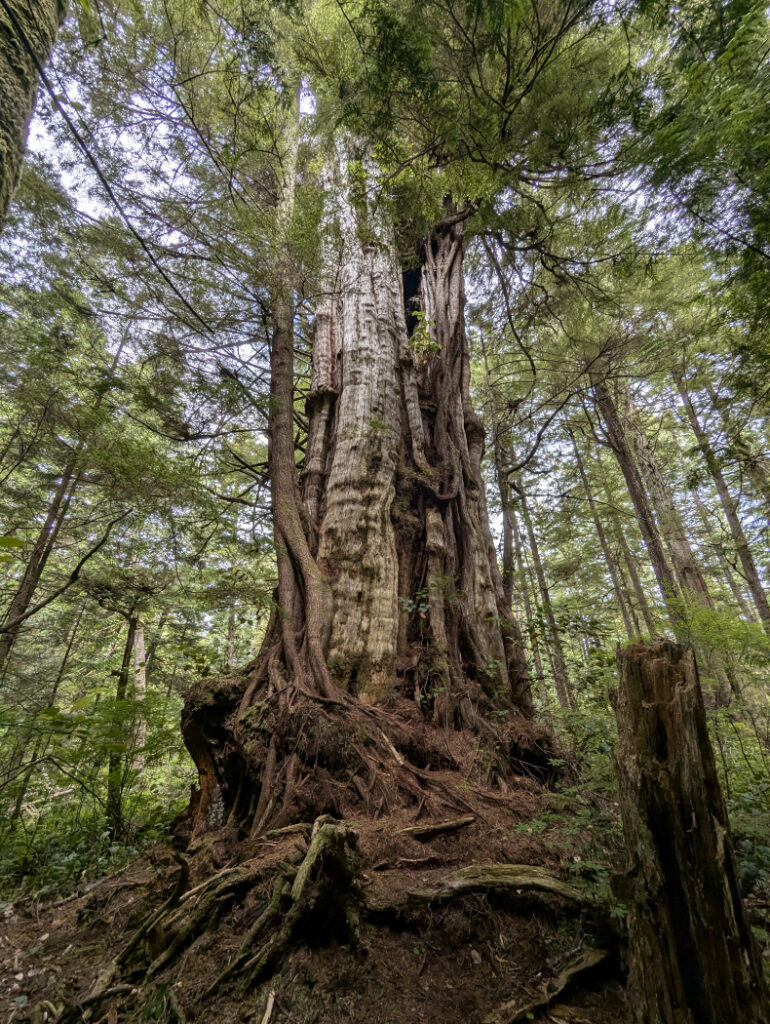
The trail I am about to describe starts from the beautiful beach at Nel’s Bight, in Cape Scott Provincial Park (so at the top of Vancouver Island.) For information about the first 18km to Nel’s Bight, please see my previous post. That section is 18km along a historic trail through old growth forest.
Camping on Nel’s Bight
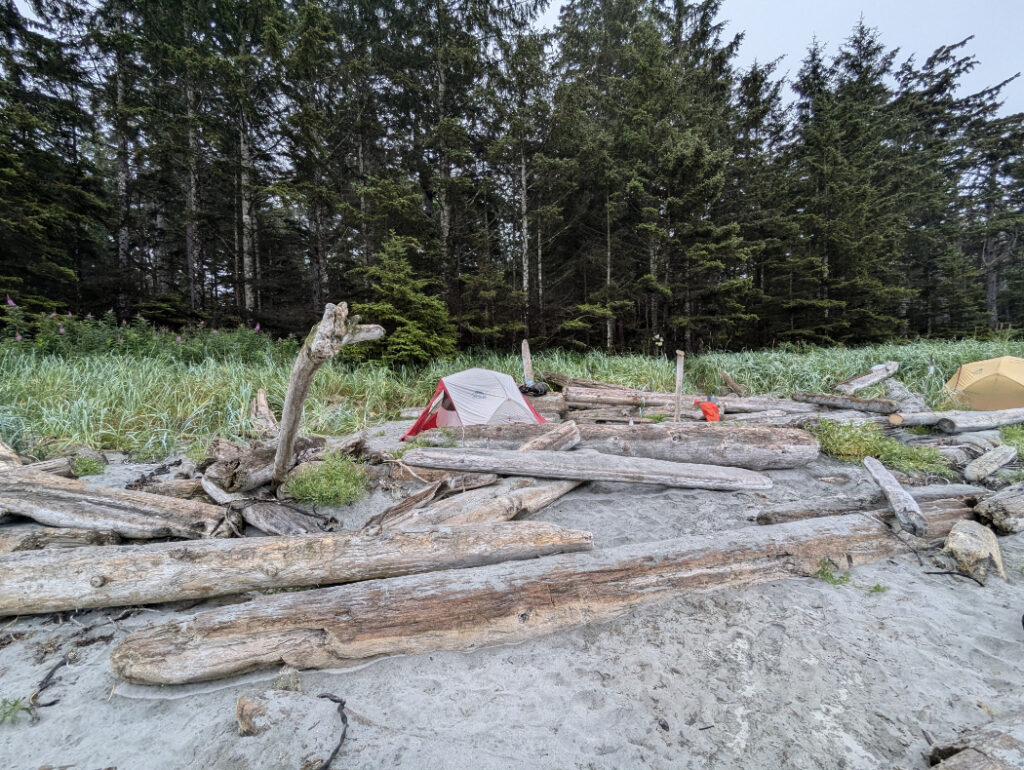
Camping at Nel’s Bight is right on the beach (although there are some spots within the forest too.) It is such a lovely place to sleep listening to the ocean.
The easiest way get a camping permit is to book it online via the backcountry registration service. But, if you like to make plans at the last second, you can self register with cash once you arrive. The cost is $10.00 per adult (16+) and $5 per child.

Facilities at Nel’s Bight
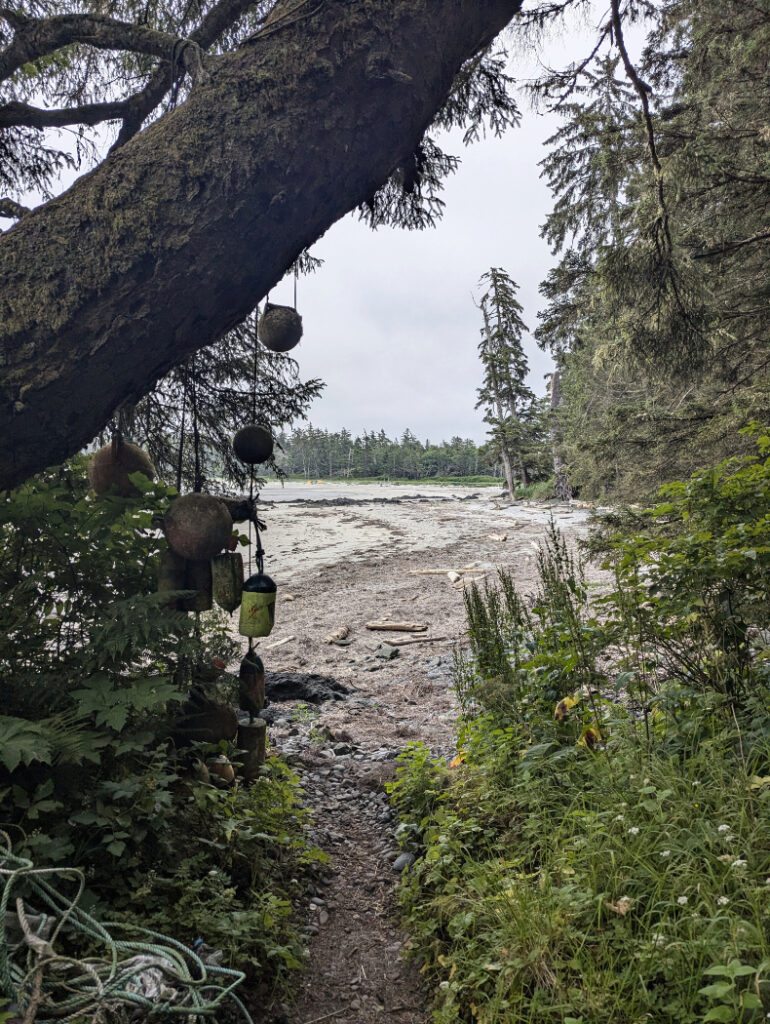
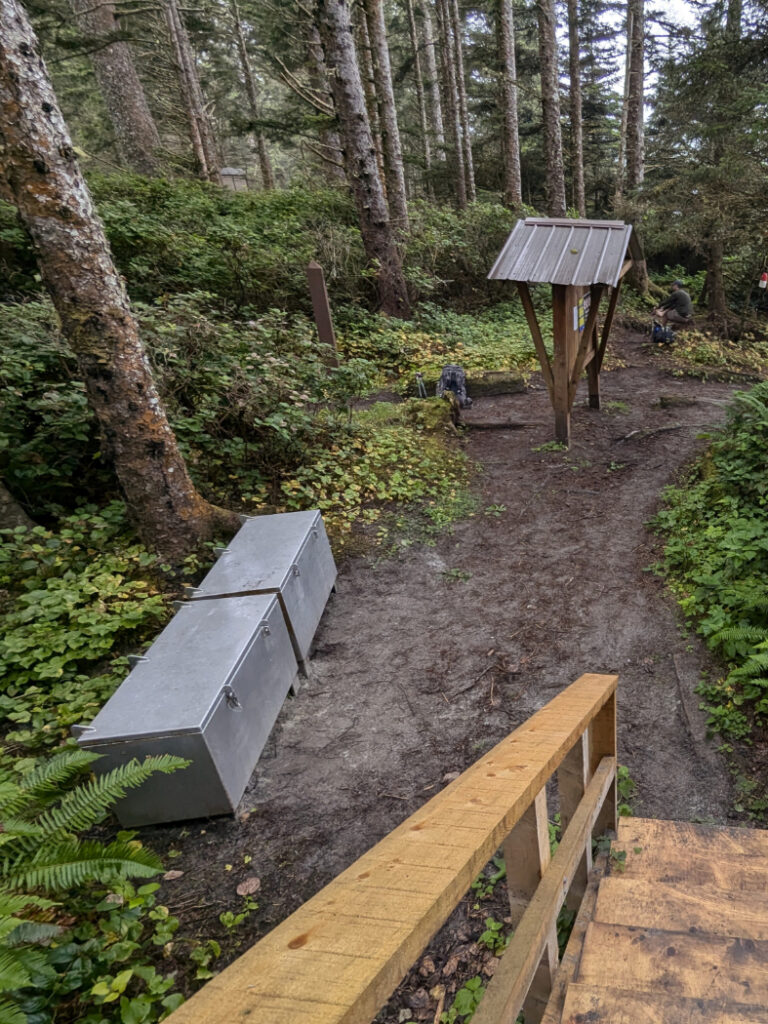
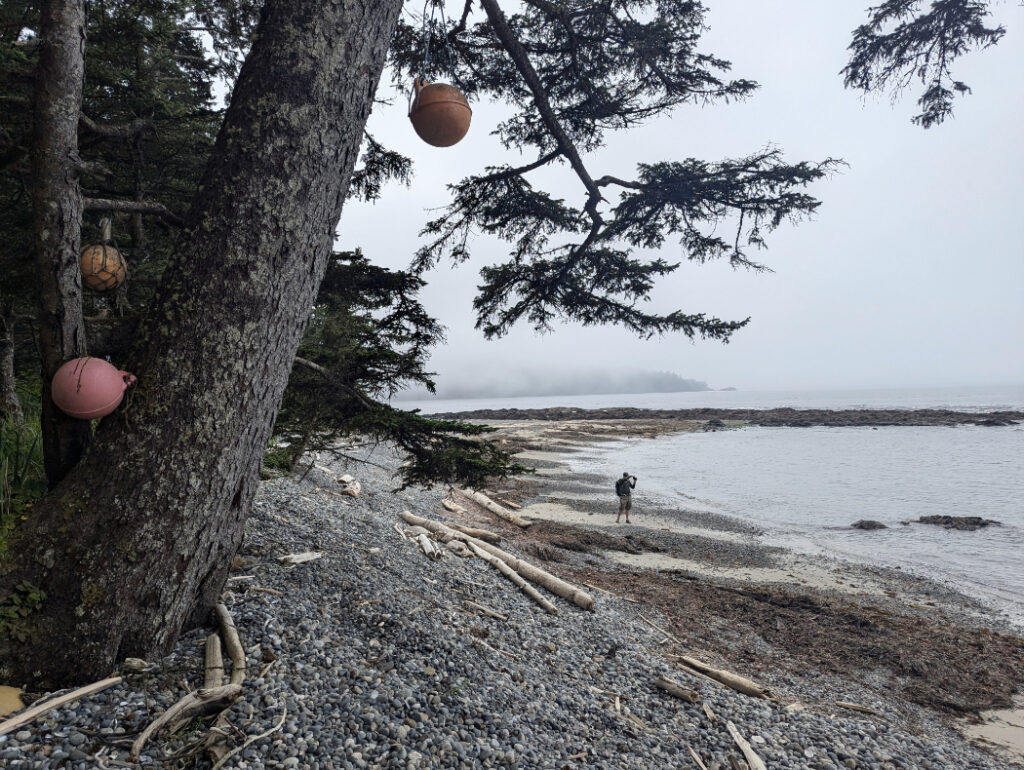
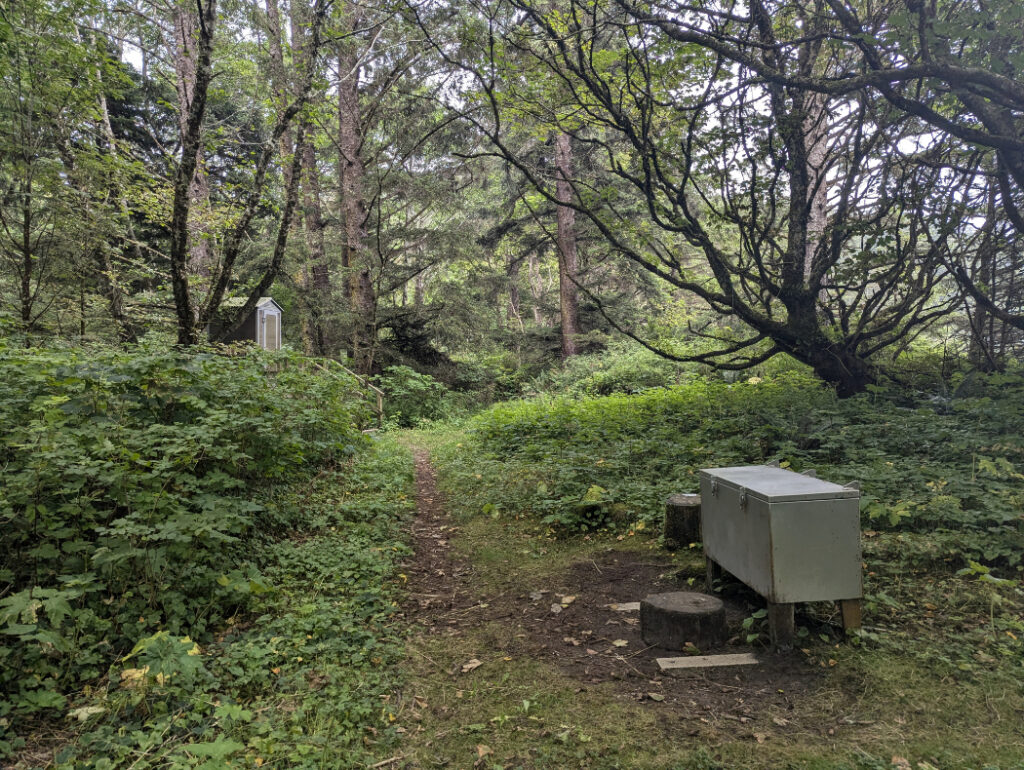
The campsite has bear caches (lockers, rather than bear hangs) as well as posh pit toilets with steps up to them. There is water available at a stream on the west side of the beach but you’ll need a filtration device. The facilities are all located in the forest, find each entrance by looking for hanging buoys.

Trail to Cape Scott
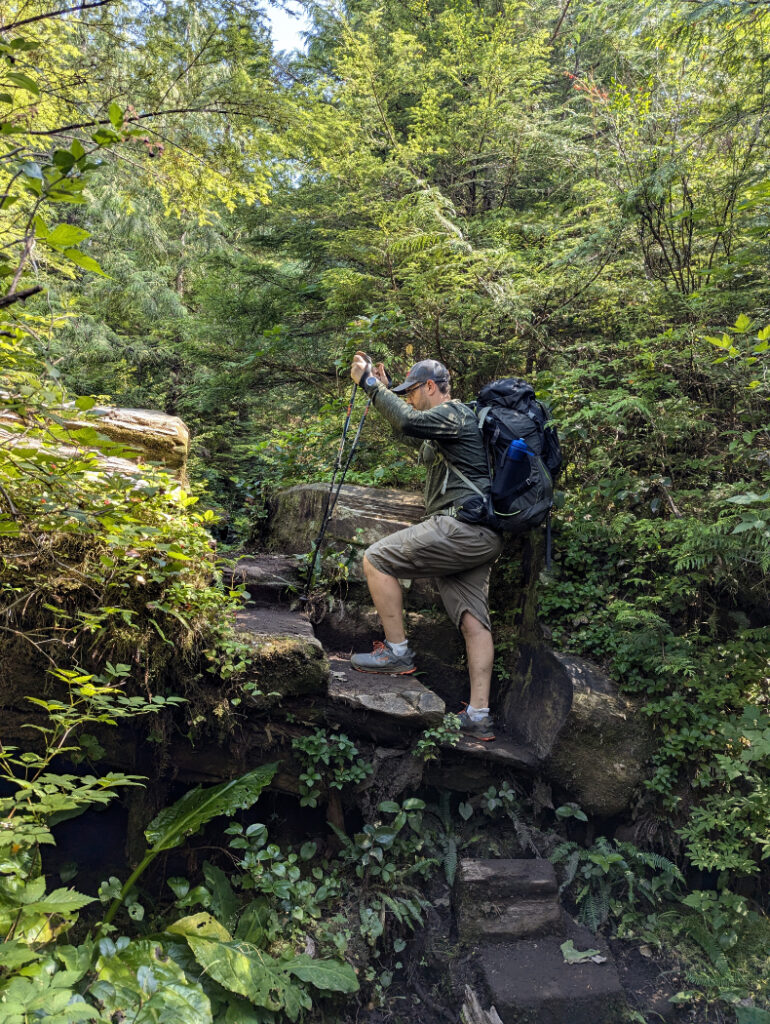
Once you’re ready to hike to Cape Scott, go to the far west side of the beach (past the stream for water.) The trail is marked by a bunch of buoys hanging off a tree. You go up and over a small headland, before climbing down again to the next beach at Experiment Bight.

Experiment Bight
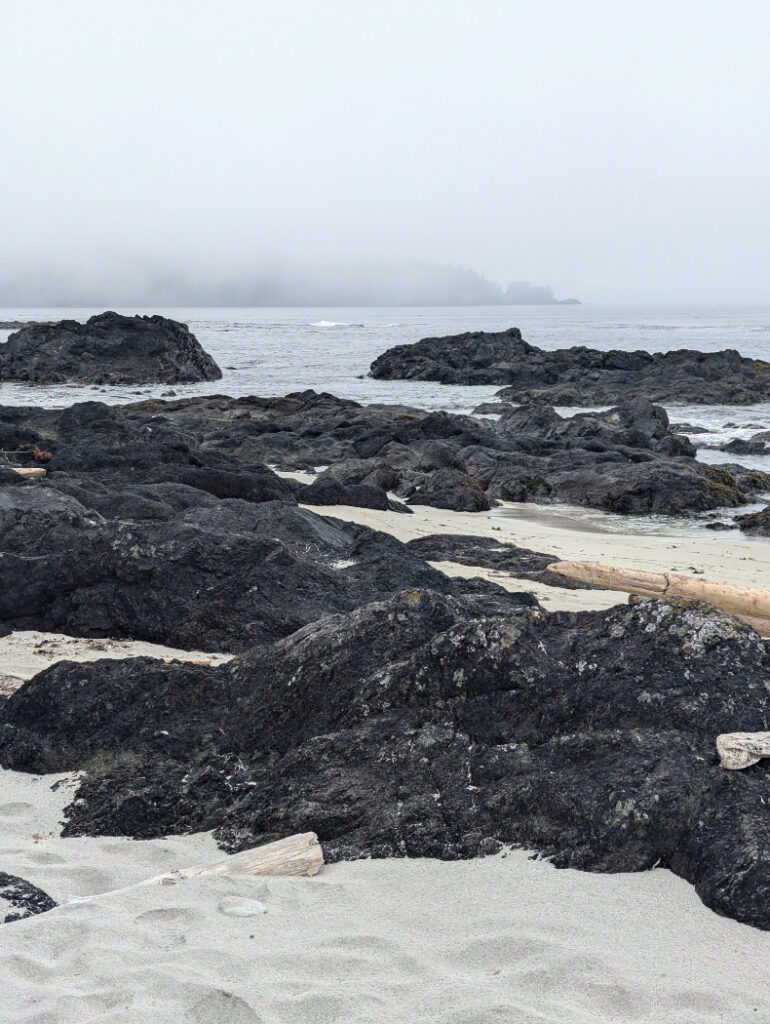
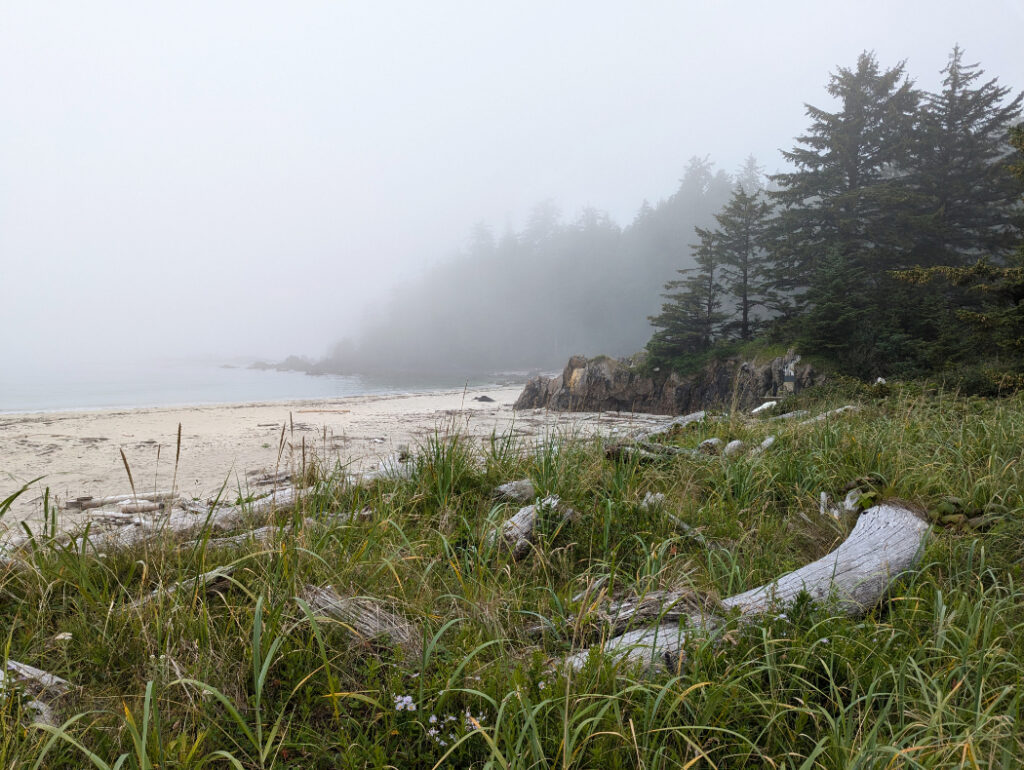
As you can see, we arrived as the mist really started to roll in. But even so, Experiment Bight is sandy and gorgeous.

Turn left into the trees at the hanging buoys. If you keep going a little further west, there is a second beach route to Cape Scott via more sea stacks (like in San Josef Bay). We didn’t know about that route, so we turned back inland to reach Guise Bay.
Guise Bay
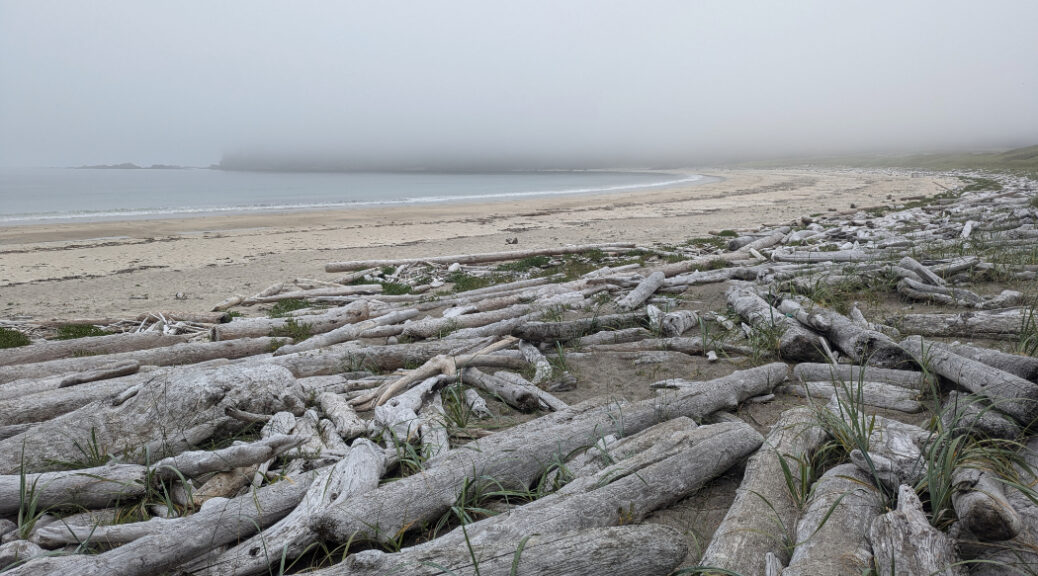
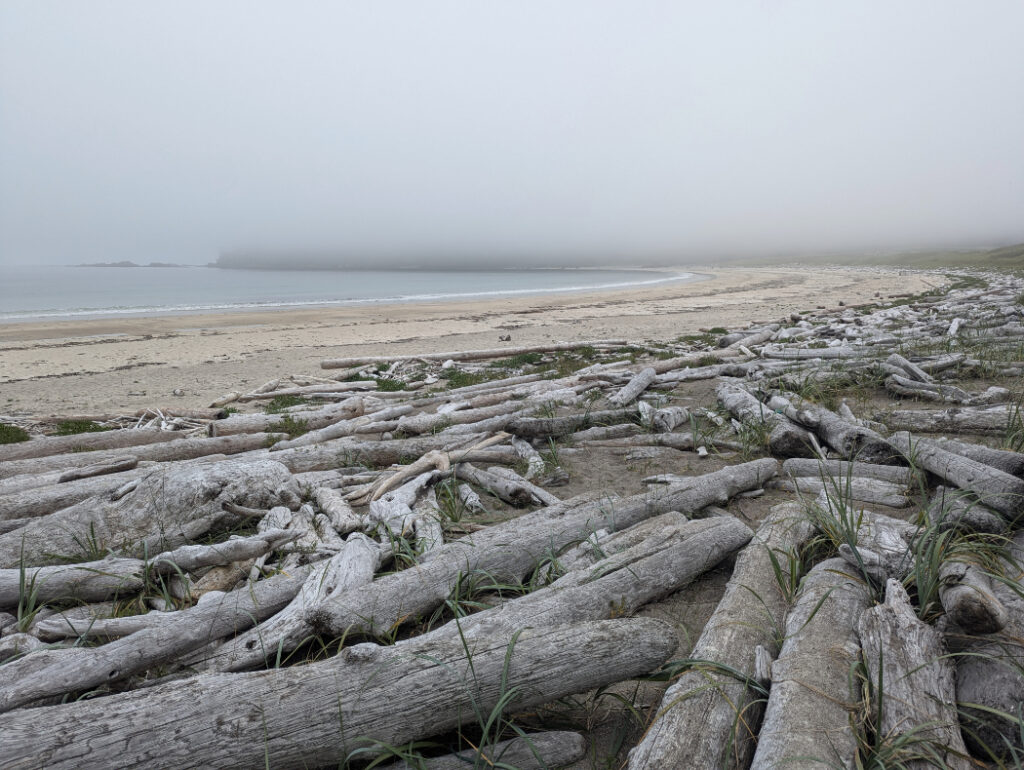
The inland route is only about a kilometer until you reach another gorgeous sandy beach, surrounded by sand dunes and oodles of driftwood logs. This is another area where you can camp on the beach. It was a lot less busy than Nel’s Bight, so it would be a great place for peace and quiet (if you don’t mind lugging your heavy backpacks for an extra 4km.)
Guise Bay Campground Facilities
Like the other campsites on the Cape Scott trail, Guise Bay has a bear cache (a locker) and pit toilet. There is also a stream for water at the far southeastern side of the beach. The water source is only easily accessible when the tide is low.
The beach itself is about a kilometer wide, with pleasant sand to hike on. We found several sand dollar sea shells along here. They are a species of flat, burrowing sea urchins that are beautiful!

Apparently this area can be amazing for beach combing. Watch out for glass floats that have broken free from Japanese fishing nets and traveled more than 8,000km accross the Pacific Ocean! As always, watch out for the buoys to point the way to the next part of the trail.
SponsoredDiscover top exclusive offers today!
Click here to learn more and take advantage of these limited-time deals.

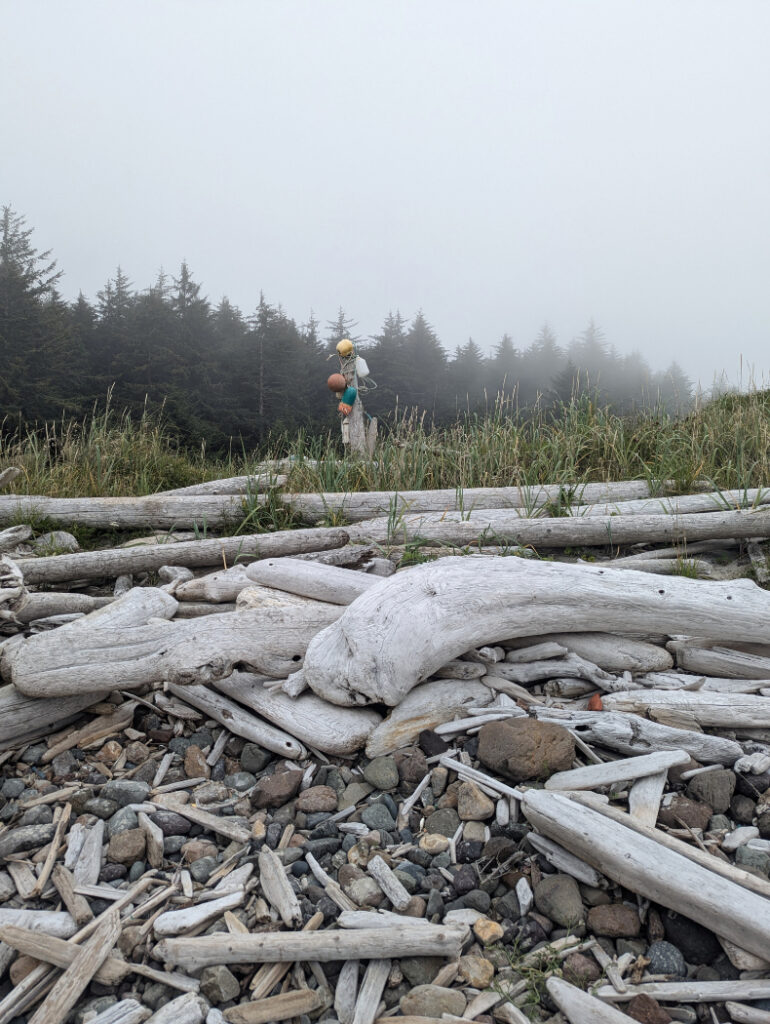
There is a tiny part of the path through the sand dunes (this is where the beach route from Experiment Bight meets up with the main trail again.)
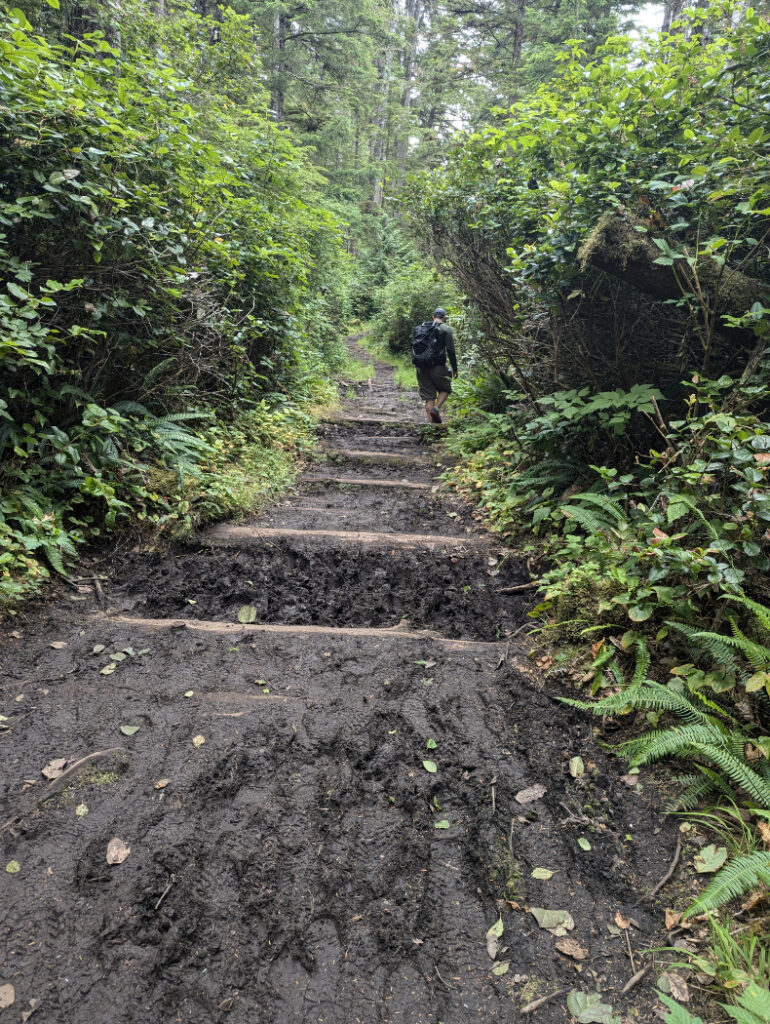
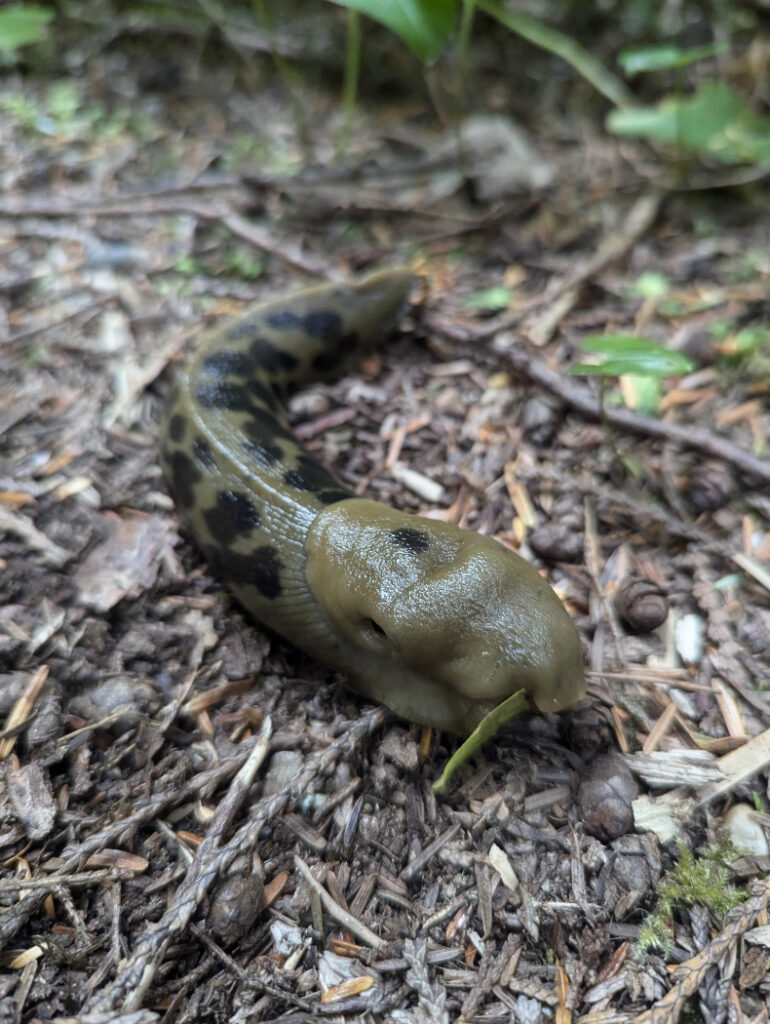
The final stretch follows an old military plank road through the mossy forest. This was left from WWII when there was a secret radar installation on Cape Scott. The trail is wide and easy to follow but be wary of slippery planks and rotting wood. Watch out for banana slugs as well.

Cape Scott Lighthouse
The trail ends at the tower for the lighthouse, owned by the Canadian Coast Guard. This was built in 1981 (you can see photos of the construction, and more details here.) This is one of the few lighthouses that have not been automated – so it is still run by lighthouse keepers.
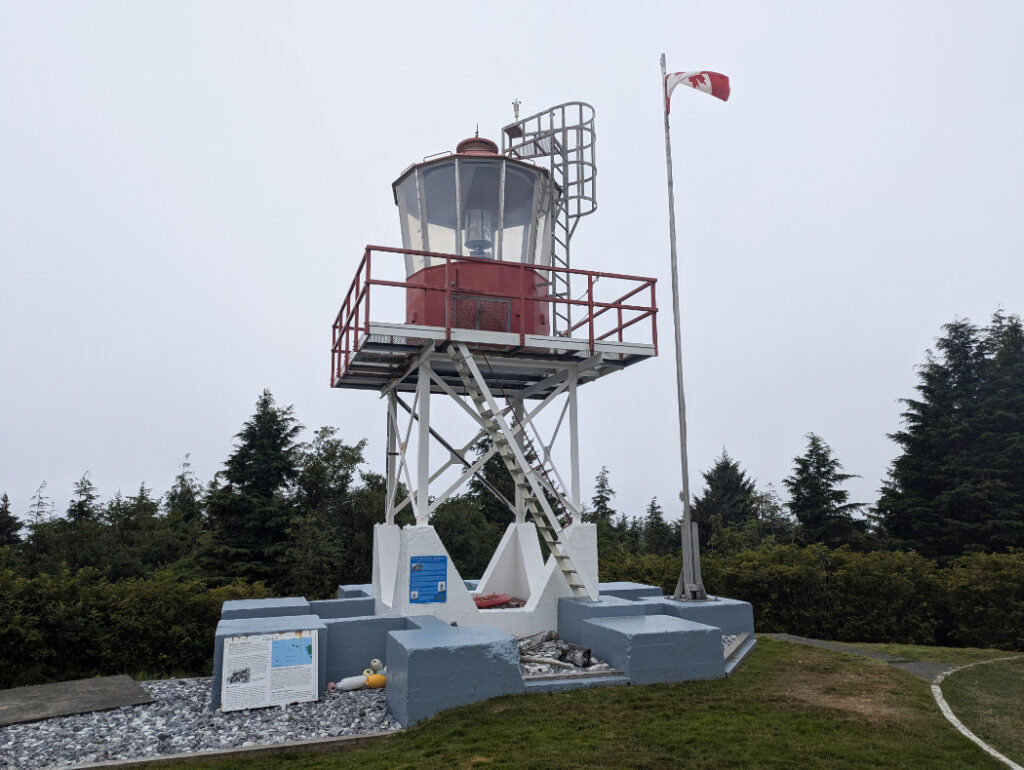
We met some friendly lighthouse keepers, who told us we could climb up the tower to see the non existent foggy views! They also told us about a tap on one of the buildings that hikers are welcome to use to refill their water bottles. We found it hilarious that we’d hiked so far for a view of the mist! Still, the fun is often just as much in the journey as the actual destination!

Returning to Nel’s Bight
Return the way you came. Or, if you fancy you can take the “secret” beach route back to Experiment Bight and Nel’s Bight. We did this mini adventure on the same day as our hike in, (and we came from San Joseph Bay) so it was a big day, of 40km+. We were both happy but exhausted.

Camping on Nel’s Bight was really pleasant! I’d (luckily) remembered to bring the gas this time, so we rehydrated some chili and treated ourselves to hot chocolate before collapsing on to our sleeping mats.
Hike out and visit the pub!
Once you leave Nel’s Bight, you need to hike back out to the trailhead, and then drive for a few hours to make it back to civilization and Port Hardy. BUT if you fancy it, you can visit Vancouver Island’s most remote pub, the Scarlet Ibis. This is in the hamlet of Holberg, 20km from the Cape Scott trailhead.
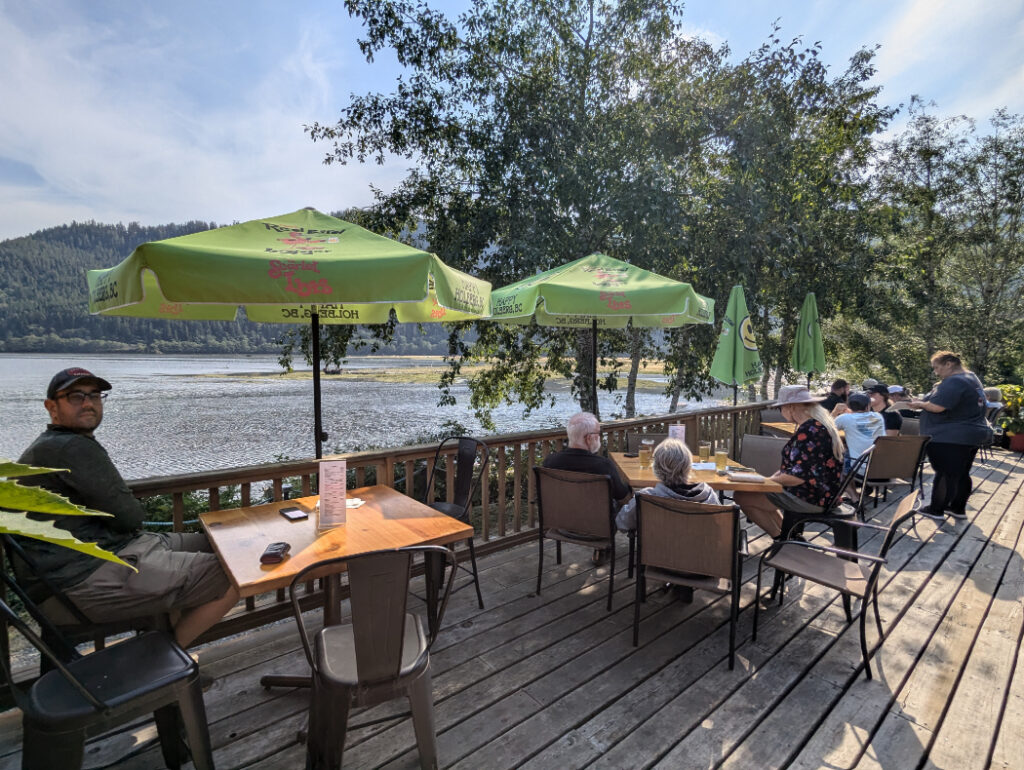
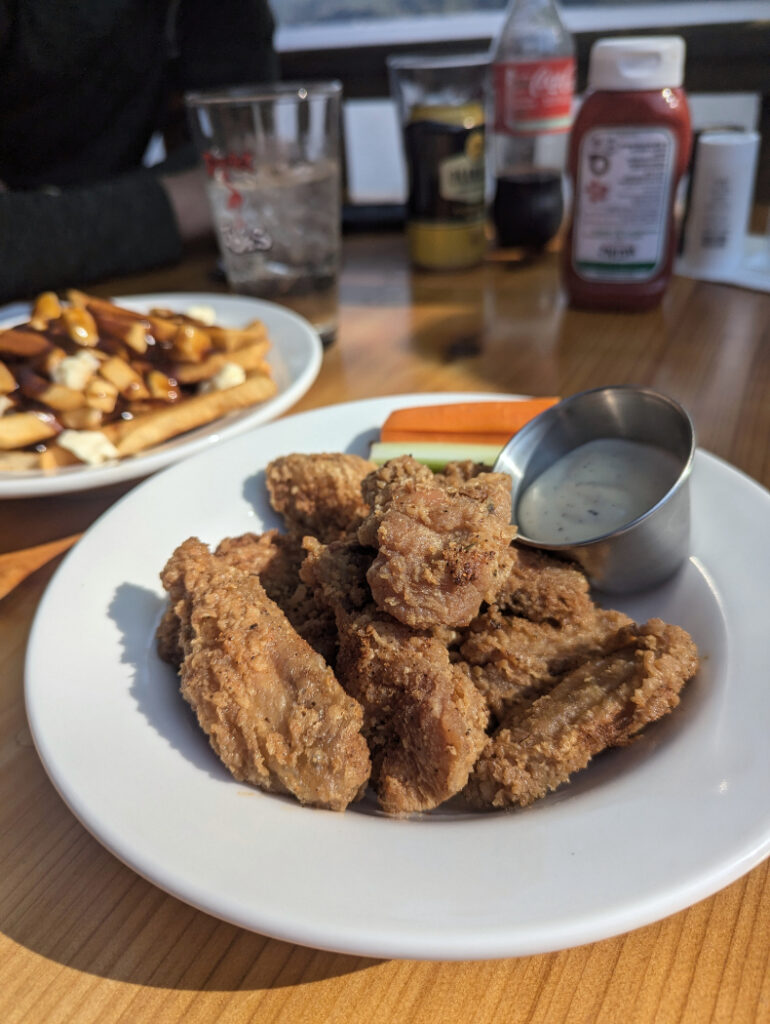
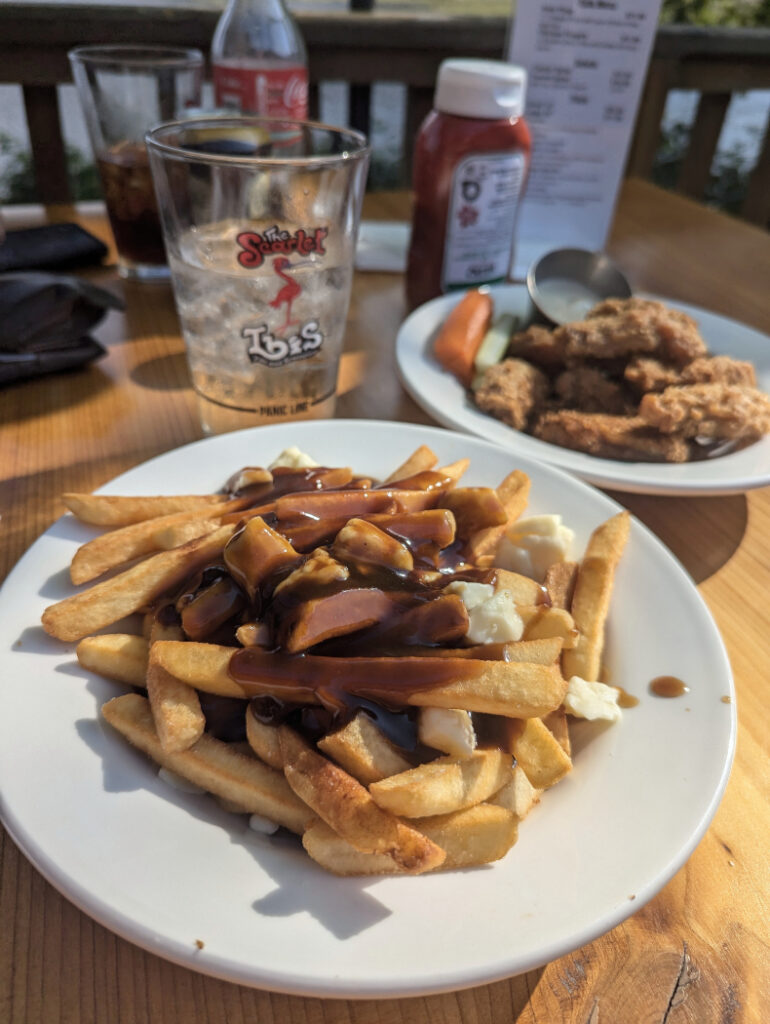
We ordered some poutine and chicken wings, then ate them on the lovely patio overlooking Holberg inlet. We noticed that the pub also has 6 adventure huts if you want to stay longer before driving back to the real world.
The Cape Scott trail is a wonderful historical route with incredible old growth forest, beaches and a chance to hike into one of Vancouver Island’s most remote (and wild) areas. This section to the tippy top of Vancouver Island was much easier than the main trail to Nel’s Bight. If (or when) we return, I’d probably hike to the lighthouse on a separate day to the hike in, to give us longer to enjoy the beaches. It must be amazing to see this area with a little sunshine! Still, even if you visit in the fog – it is a stunning region, and well worth the hike!
6 thoughts on “Nel’s Bight to Cape Scott Lighthouse”
This hike looks a bit much for me but sounds fantastic. I love fog so bring it on.
Looks so peaceful. Definitely different than any other hike I’ve done! It’s look so remote – did you see any other hikers?
This hike looks wonderful. I never realized you could find sand dollars this far north, but love to find these on the beach.
I loved reading this post! I’m fascinated by lighthouses and fog—it evokes such a sense of mystery and makes for great photography.
Looks like a fun trip. I have yet to try camping and this looks like the perfect location to be surrounded and immersed in nature.
It was really nice, especially camping on the beach. BUT if it is your first time, the campground at San Josef Bay (a previous post has all the info) might be better as it is much less of a walk/challenge for a first wild camping experience.